No-bias Technique for Stained Glass Quilts
Ok, I could have used another photo here, but this one will have to serve two purposes. The first thing you need to notice is that I have now FUSSED WITH the loose pieces just a bit, so that they all have approximately the same amount of black between the pieces and around the edges of the pieces. AND, I used a press-and-lift motion with my iron when I was pressing them down. So the butterfly is all together……..but the black layer still has the paper on the back of it.
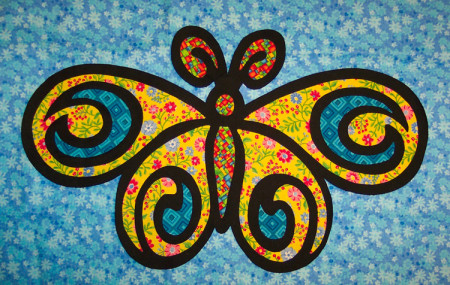
Therefore, the entire butterfly can now be placed on any number of background fabrics until I find just the right one for the look I’m after.
See what you think about the ones below.
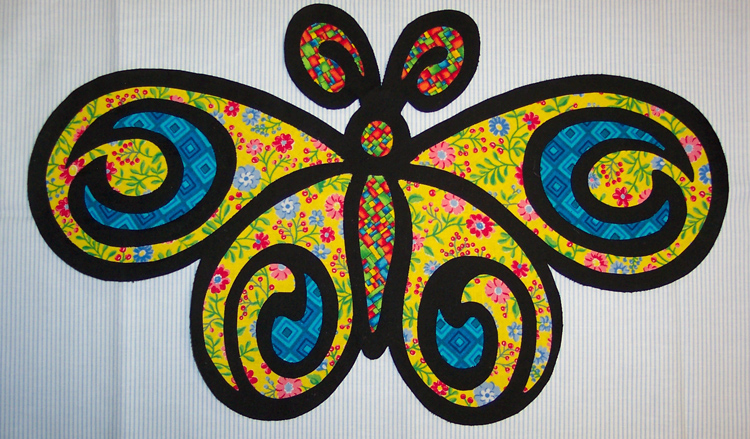
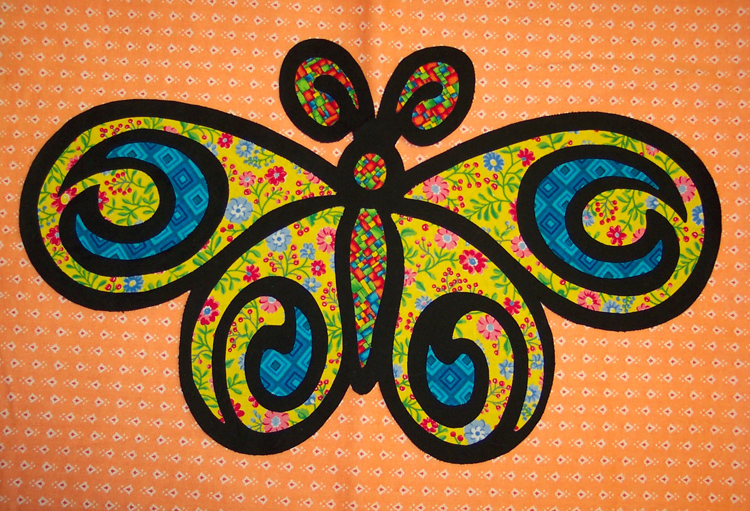
Keep in mind – this is the same butterfly in all of the photos. The background fabric you use will sometimes make the fabrics look different. See more below.
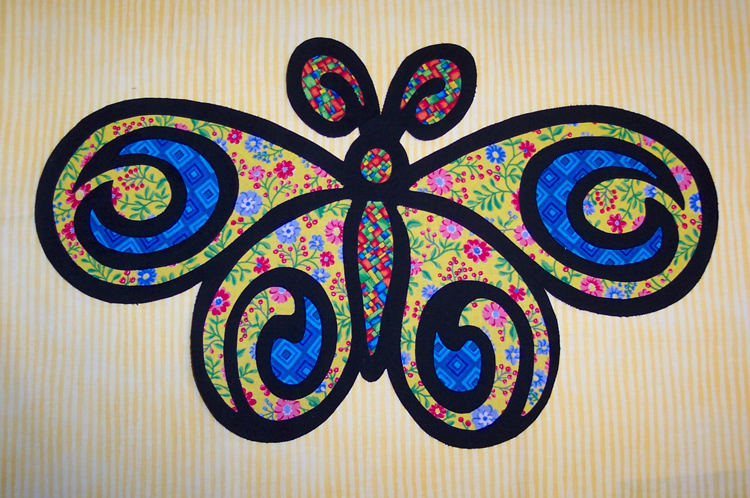
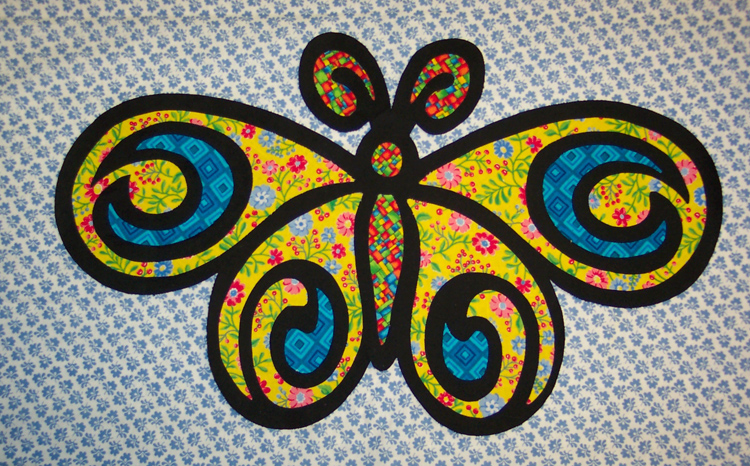
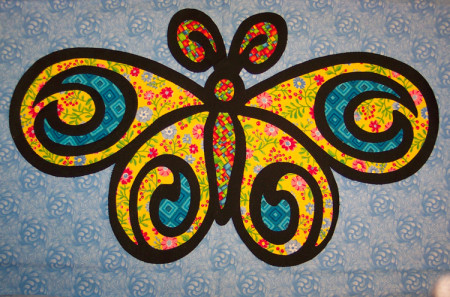
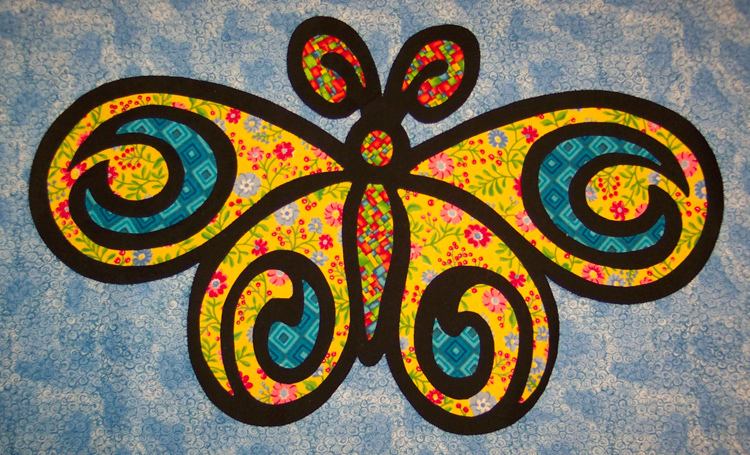
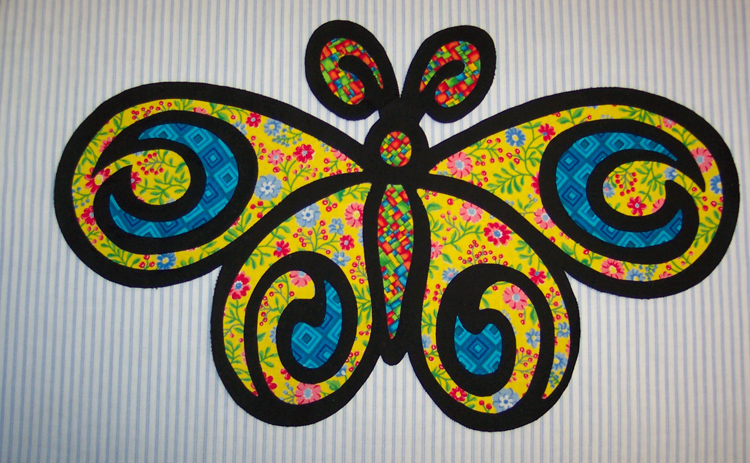
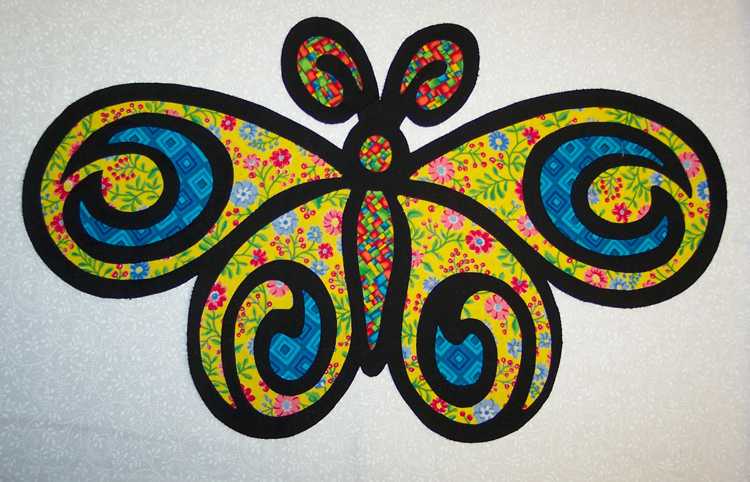
After I choose a background fabric, I will remove the paper backing from the black silhouette, and fuse the entire project to the background.
Sandwiching the top, quilting the wall hanging, and finishing the hanging sleeve and binding will be next. Those photos will be coming soon. Stay tuned…. :)
 https://anotherbyanita.com/shop/machine-embroidery/hexagon-happiness/hexagon-happiness-set-b-machine-embroidery/