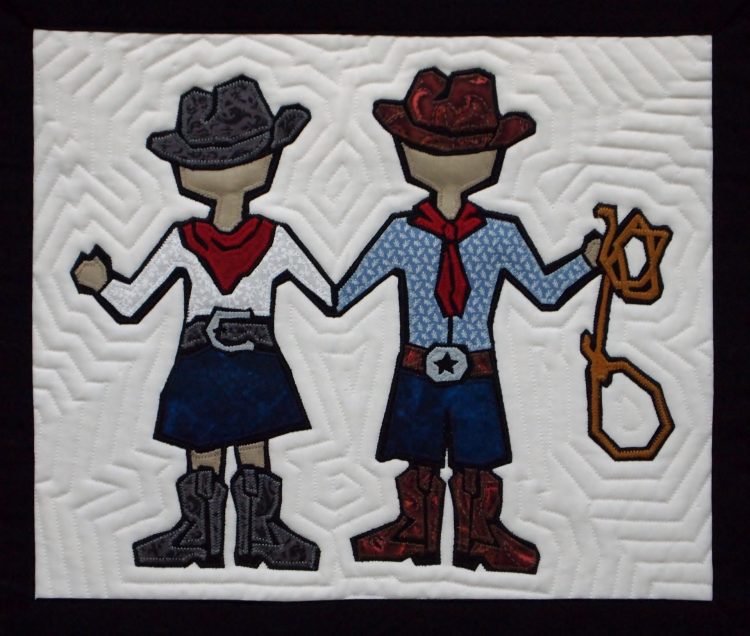
No-bias Technique for Stained Glass Quilts
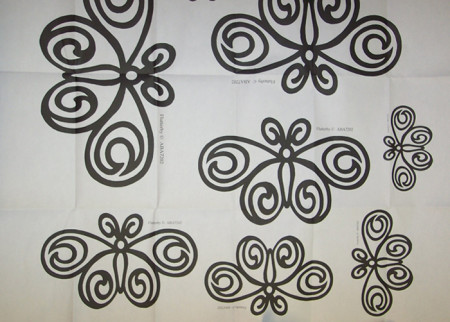 The pattern I will be using is my Flutterby pattern (ABA7202), which was originally made for garment appliques.
Since we all come in different sizes, I included 8 different sizes of the butterfly design in the pattern. Today, I will be using the largest one in the packet.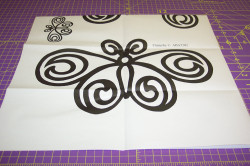
I never cut my patterns, so they remain intact for future use. However, for one with multiple sizes on the same pattern, you may want to fold your pattern or draw a large circle around the specific one that you plan to use.
Iron-on Fusible
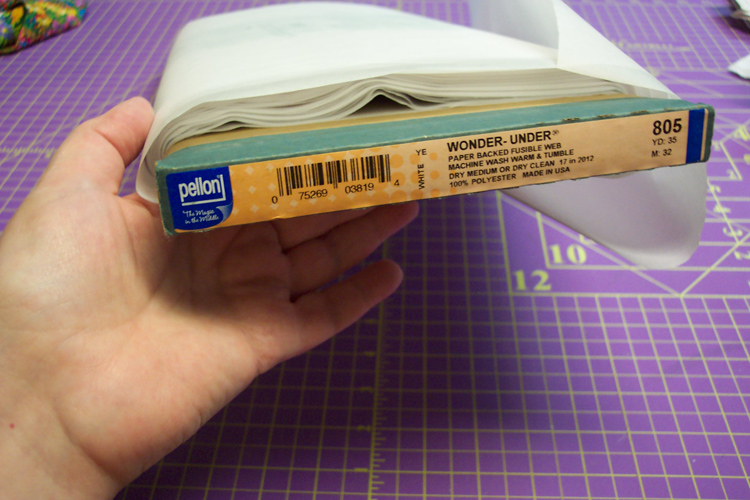 In all of my designs, I use a paper-backed fusible and cotton fabrics. The fusible I prefer is Wonder Under. It is made by Pellon and comes on a bolt. In the fabric stores, you can find it in the section with the interfacings.
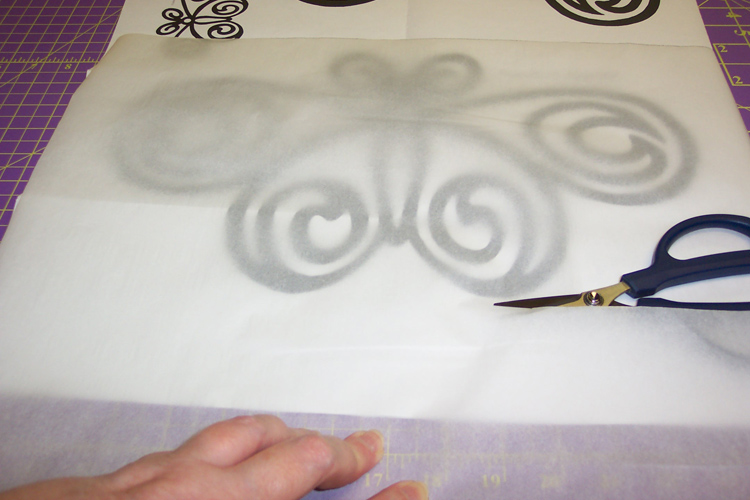
Cut a piece of the fusible that is large enough to cover the entire design
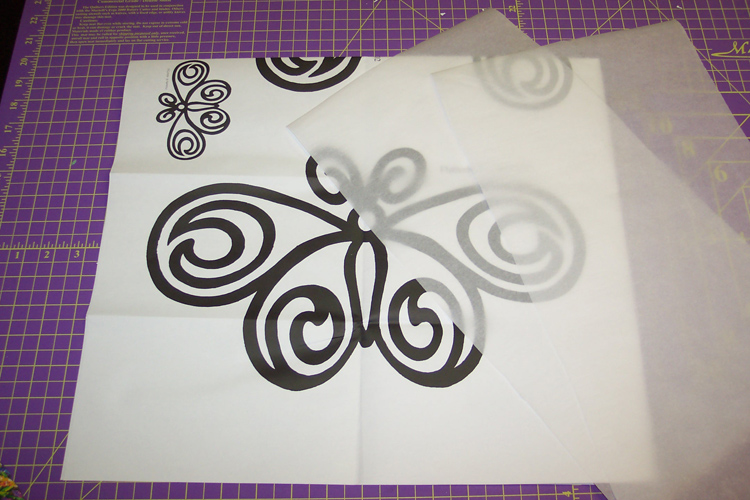
Then cut a second one the same size.
Tracing Around the Outside…
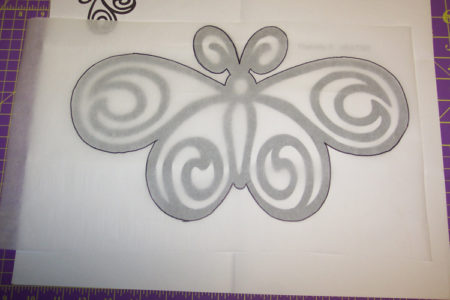
Using a permanent marker (or pencil – which is messy because it smears – but it will get the job done!), and one piece of the fusible, trace around the outside edge of the design. Be sure to stay on the edge of the wide black line.
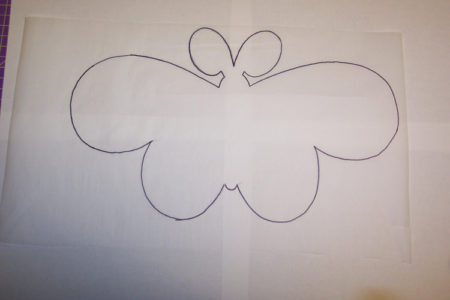
Your tracing will look like a silhouette of the original design.
Tracing Around the Inside…
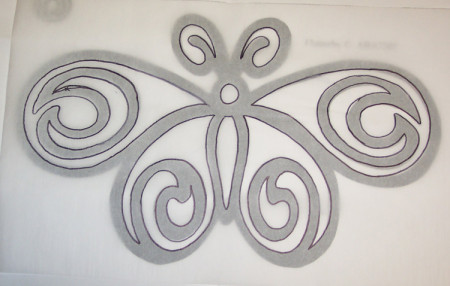
Next, trace around the inside of all of the sections that make up the design.
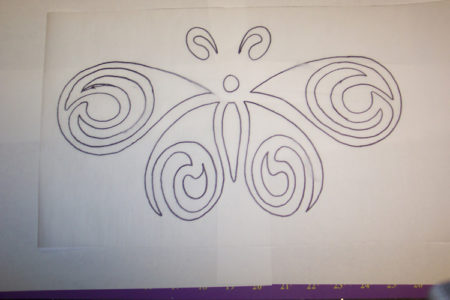
Note: If your pencil or ink smears, don’t worry. No one will ever see your tracings except you.
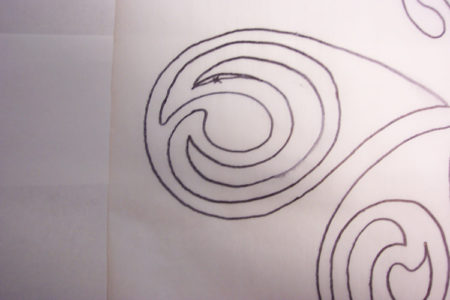
Do you see where I drew a line in the wrong place? When that happens, I simply make an “X” on the wrong line and redraw it in the correct place.
 https://anotherbyanita.com/shop/machine-embroidery/hexagon-happiness/hexagon-happiness-set-b-machine-embroidery/